Introduction
Hey there, fellow dessert lover! There’s nothing quite like the pure joy of turning simple ingredients into something truly special in your own kitchen. For me, baking has always been about creating those unforgettable moments, and homemade ice cream holds a special place in my heart. It’s a sweet escape, a refreshing delight, and a perfect way to bring smiles to everyone’s faces.
Today, we’re diving into a raspberry ice cream recipe that’s going to steal your heart. Imagine a vibrant, fruity flavor bursting with the taste of ripe berries, all wrapped up in a wonderfully creamy texture. This isn’t just any frozen treat; it’s an experience. We’re talking about a delicious dessert that’s perfect for warm days, family gatherings, or just a quiet moment of indulgence.
Making your own homemade raspberry ice cream from scratch is incredibly rewarding. You get to control every ingredient, ensuring the freshest taste and the perfect consistency. This easy-to-follow berry ice cream recipe will guide you to a fantastic finish, proving that the best desserts are often the ones made with a little love and passion. Treat yourself to a scoop of pure bliss!
Table of Contents
Table of Contents
What You’ll Need: Ingredients for Amazing Homemade Raspberry Ice Cream
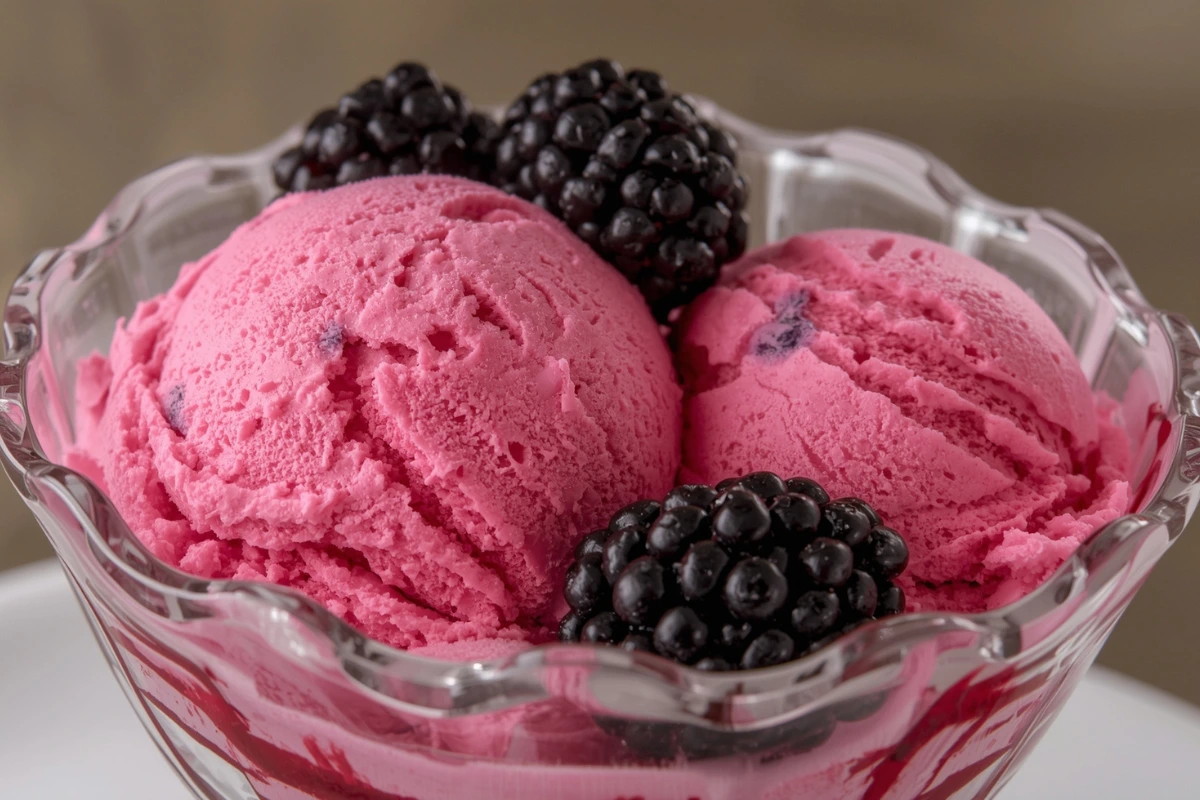
Alright, chefs-in-training, let’s gather our treasures! To make truly amazing homemade raspberry ice cream, starting with fresh, high-quality ingredients is key. We’re focusing on a vibrant raspberry ice cream recipe using black raspberries, which offer an intense, deep berry flavor and a gorgeous color that makes this raspberry ice cream extra special.
Using ripe, juicy berries will make all the difference in the taste of your delicious dessert. Here’s everything you’ll need to create this creamy delight:
- 2 cups black raspberries
- 4 large egg yolks
- 3/4 cup granulated sugar
- 1 1/2 cups whole milk
- 1 1/2 cups heavy cream
- ¼ tsp kosher salt
- 2 teaspoons vanilla extract
Baking Bliss: Your Step-by-Step Raspberry Ice Cream Journey
Now for the fun part – let’s make some magic! This is where we turn those simple ingredients into a luscious, creamy homemade raspberry ice cream. Follow these clear steps carefully, and you’ll be enjoying a perfect scoop of this delightful raspberry ice cream recipe in no time. Get ready to create an amazing blackberry raspberry ice cream that will impress everyone!
- Chill the Ice Cream Bowl: First things first, make sure your ice cream maker bowl is super cold. Freeze it for at least 24 hours, or until it’s completely solid. You shouldn’t hear any water sloshing around when you give it a shake. This step is crucial for a smooth and efficient churning process for your perfect homemade raspberry ice cream.
- Prepare the Raspberries: Place your fresh black raspberries into a food processor. Blend them until they are wonderfully smooth.
- Strain the Puree: Next, strain the blended black raspberry puree through a fine-mesh sieve into a separate bowl. Press down firmly with the back of a spatula or spoon to get out as much juice as possible, leaving the seeds behind. This step gives your raspberry ice cream a silky-smooth texture, making every bite heavenly. Set this beautiful puree aside for a moment.
- Whisk Egg Yolks and Sugar: In a medium-sized bowl, whisk together the egg yolks and granulated sugar until smooth and looks pale yellow.
- Heat the Milk: Pour the whole milk into a saucepan and place it over medium heat. Bring the milk to a gentle simmer, just until you see small bubbles around the edges, then immediately remove it from the heat. Be careful not to let it boil.
- Temper the Eggs: Now, slowly add about 1/2 cup of that hot milk to your egg and sugar mixture, whisking constantly as you pour. This “tempering” step gently warms the egg yolks and stops them from scrambling when they meet the rest of the hot milk. It’s a key step for a smooth custard base for your raspberry ice cream.
- Combine Mixtures: Pour the tempered egg mixture back into the saucepan with the rest of the hot milk.
- Cook the Base: Return the saucepan to low heat. Stir constantly with a spatula or spoon, cooking until the base thickens enough to coat the back of the spoon. This usually takes just a few minutes. Don’t let it boil! This rich custard forms the heart of your fantastic raspberry ice cream.
- Strain the Custard: Strain the cooked custard mixture into a clean bowl. This catches any tiny pieces of egg that might have cooked and ensures your raspberry ice cream base is perfectly smooth and silky.
- Add Cream and Flavorings: Stir in the heavy cream, kosher salt, and vanilla extract until everything is well combined.
- Incorporate Raspberry Puree: Gently fold in the black raspberry puree you prepared earlier. Stir until its vibrant color is fully mixed into the creamy base. Look at that gorgeous hue for our blackberry raspberry ice cream!
- Chill the Base: Cover the bowl tightly with plastic wrap, making sure the plastic touches the surface of the ice cream base. This prevents a “skin” from forming while it chills. Refrigerate the mixture for at least 3 hours, or until it’s very cold. Proper chilling is absolutely essential for a successful and fantastic raspberry ice cream recipe. If you’re looking for other fruity delights, you might also love our recipe for peach ice cream.
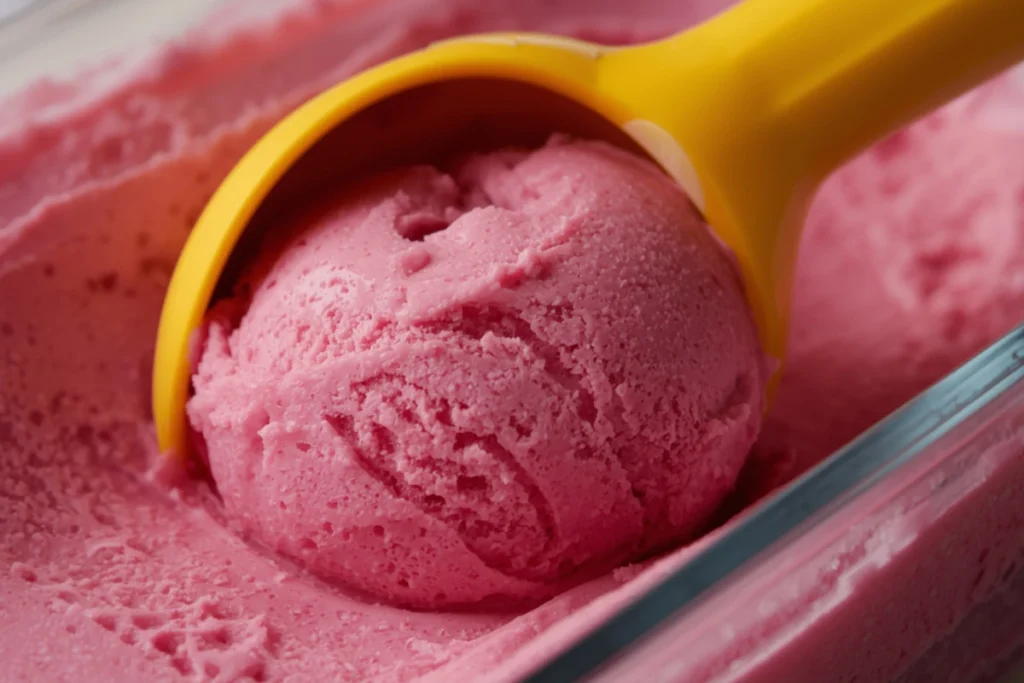
- Churn the Ice Cream: Pour the chilled raspberry ice cream base into your ice cream maker’s frozen bowl. Churn according to your manufacturer’s instructions (mine usually takes about 20 minutes), until it is thick and the consistency of soft-serve ice cream.
- Freeze to Firm: Spoon the freshly churned raspberry ice cream into a shallow container or a loaf pan. Lay plastic wrap or wax paper flat on the ice cream’s surface. Freeze for a minimum of 4 hours, or until firm. Let sit at room temperature for about 5 minutes before serving. Enjoy your incredible homemade raspberry ice cream!
Chef’s Secrets for Perfect Raspberry Ice Cream
Want to make your homemade raspberry ice cream truly unforgettable? It’s all about the little details! These chef’s secrets will ensure your raspberry ice cream recipe results in the creamiest, most flavorful scoops every time. Get ready to master the art of this delicious frozen treat.
Pro Tips for the Creamiest Scoop
Thoroughly chilling your ice cream maker bowl for at least 24 hours is a must. A super-cold bowl means faster churning and smaller ice crystals, giving you that incredibly smooth, restaurant-quality raspberry ice cream texture. Don’t skip this step!
Straining the raspberry puree, even though it adds a step, makes a huge difference. Removing those tiny seeds gives your homemade raspberry ice cream a wonderfully silky mouthfeel that’s pure luxury. It elevates the entire **raspberry ice cream** experience.
When tempering the egg yolks, pour the hot milk slowly while whisking non-stop. This prevents the eggs from scrambling and ensures your custard base is rich, stable, and perfectly smooth for the best raspberry ice cream. Always taste your custard base before chilling; flavors can seem less intense when cold, so you can adjust the sweetness slightly if needed. For another zesty, homemade treat, consider trying our lemon ice cream recipe.
Storage & Serving Suggestions
To keep your delicious raspberry ice cream fresh and free from freezer burn, store it in an airtight container. It will stay wonderful for up to 2-3 weeks, though I doubt it will last that long!
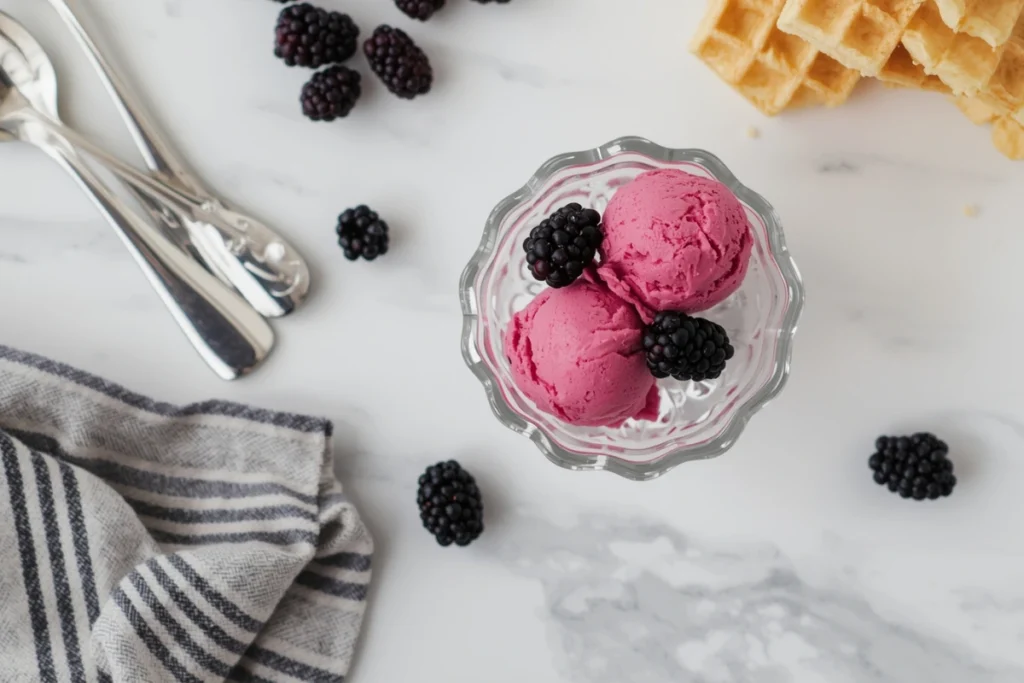
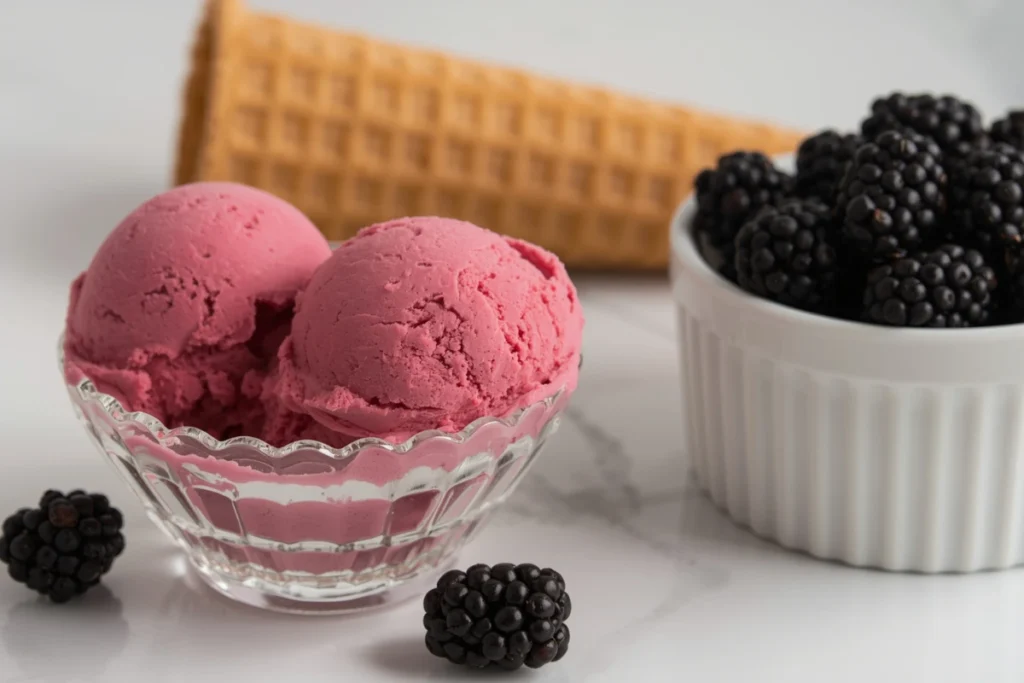
For the best texture, let your homemade raspberry ice cream sit at room temperature for about 5-10 minutes before scooping. This softens it just enough for perfect, effortless scoops. Serve this amazing raspberry ice cream with fresh berries, a sprinkle of chocolate shavings, a dollop of fresh whipped cream, or even a drizzle of homemade raspberry sauce for an extra burst of flavor. Enjoy every single creamy bite!
Sweet Twists: Raspberry Ice Cream Recipe Variations
One of the best parts about making your own ice cream is the freedom to get creative! If you love to experiment as much as I do, these delicious twists on our raspberry ice cream recipe will spark your imagination. You can easily adapt this amazing homemade raspberry ice cream to suit your mood or what you have in your pantry.
- Mixed Berry Swirl: Why stop at just raspberries? For a truly vibrant raspberry ice cream, try a combination! Blend together an equal mix of fresh raspberries, blueberries, and blackberries for your fruit puree. This creates a multi-layered flavor that’s absolutely divine. You can also find incredible creamy texture in our coconut ice cream for a tropical twist.
- Chocolate Chunk Raspberry: Chocolate and raspberries are a match made in heaven! After your raspberry ice cream finishes churning, fold in a handful of finely chopped dark or white chocolate chunks. The little bursts of chocolate add a delightful texture and rich flavor that perfectly complements the tart berries.
- Lemon Raspberry: Give your raspberry ice cream a bright, zesty kick. Add the finely grated zest of one fresh lemon to your custard base along with the vanilla extract. The lemon’s tanginess beautifully enhances the natural sweetness of the raspberries, creating a refreshing flavor profile.
- Almond Raspberry: For a subtle, sophisticated twist, add a few drops of almond extract to your custard base alongside the vanilla. Almond’s delicate nutty notes pair wonderfully with the fruit, adding a hint of elegance to your raspberry ice cream.
- Vegan Raspberry Ice Cream: Want a dairy-free option? You can absolutely make a delicious vegan raspberry ice cream recipe! Swap the whole milk and heavy cream for full-fat canned coconut milk and blend in some cashews (soaked overnight, then drained) to create a rich, creamy base. Adjust the sugar to taste, and enjoy a plant-based frozen treat.
A Scoop of Memories: My Raspberry Ice Cream Story
Every bite of this raspberry ice cream takes me back to my grandmother’s backyard on a sweltering summer day. I must have been about seven, and the heat was almost too much. We had spent the morning picking sun-warmed raspberries from her sprawling bushes, our fingers stained purple from the sweet, juicy fruit. She promised a special treat, and I watched, mesmerized, as she turned those simple berries into a creamy, dreamy raspberry ice cream.
The old-fashioned hand-crank ice cream maker felt like magic. My job was to sit on the lid to keep it steady while my grandpa tirelessly turned the handle. The anticipation was almost unbearable! When that first scoop of vibrant, pink homemade raspberry ice cream hit my bowl, it was pure bliss. It tasted like sunshine, laughter, and endless summer days.
Even now, making this very same homemade raspberry ice cream recipe brings back that same feeling of warmth and connection. It’s more than just a dessert; it’s a moment of shared joy, a taste of simpler times. Whether it’s the rich blackberry raspberry ice cream or a classic version, this frozen delight always reminds me how food can truly bring people together and create lasting, sweet memories. It truly is a delicious dessert that always brings a smile to my face, much like our delightful blueberry ice cream cheesecake.
Frequently Asked Questions About This Delicious Raspberry Ice Cream
You’ve got questions about making and enjoying this delightful raspberry ice cream, and I’ve got answers! It’s totally normal to have a few curiosities when trying out a new dessert, especially one as special as homemade ice cream. Let’s dive into some common questions to make sure your raspberry ice cream recipe journey is smooth, successful, and incredibly tasty.
What is the secret ingredient in homemade ice cream?
There isn’t just one “secret ingredient” that makes homemade ice cream so magical, but rather a combination of things working together! Using high-quality dairy, like whole milk and heavy cream, gives it that rich, luxurious texture. A proper balance of sugar is also key to preventing it from freezing too hard. For a fruit-forward ice cream like our raspberry ice cream, the true secret lies in the quality and ripeness of your fresh berries. That’s what gives it that amazing, vibrant flavor you just can’t get enough of. For another great take on black raspberry ice cream, you can explore recipes like this one from Allrecipes.
Is there a raspberry ice cream?
Oh, absolutely! Raspberry ice cream is a wonderfully popular flavor, cherished for its bright, sweet-tart taste and its beautiful, inviting color. It’s a classic choice for a refreshing dessert, and making it at home, as with this fantastic raspberry ice cream recipe, allows you to control the intensity of that incredible raspberry flavor. You can create a truly custom, delicious dessert that beats anything from the store.
How to make a berry ice cream?
Making any kind of raspberry ice cream generally follows the same lovely steps as this raspberry ice cream recipe. You’ll typically start by pureeing your chosen berries – whether that’s raspberries, strawberries, blueberries, or a mix! Straining the puree is often a good idea if you prefer a smoother texture without seeds. Then, you fold this vibrant fruit puree into a rich, creamy custard base or a simpler no-cook base. Proper chilling of the base and then churning it in your ice cream maker are the final, crucial steps to achieve that perfect, smooth, and creamy consistency for your frozen dessert. You can also find more inspiration for your next batch of raspberry ice cream from Taste of Home.
What flavors go well with raspberry?
Raspberry is such a versatile fruit, and it pairs wonderfully with many different flavors! For a classic combination, think about chocolate (especially dark or white chocolate for contrast), lemon for a zesty, bright kick, vanilla to complement its natural sweetness, and almond for a delicate nutty note. Other berries like blueberries or blackberries (as in our blackberry raspberry ice cream here) also make excellent companions for this raspberry ice cream.
Final Thoughts on Your Homemade Raspberry Ice Cream
Well, there you have it, my friend! I truly hope you feel ready and excited to whip up this incredible homemade raspberry ice cream recipe in your own kitchen. There’s just nothing quite like the immense satisfaction of scooping a homemade dessert that’s bursting with vibrant flavor. When you make it yourself, with your own hands and a little love, it tastes even better.
Enjoy every single creamy, fruity spoonful of your creation. This delicious raspberry ice cream isn’t just a treat; it’s a reason to gather, share, and make some happy memories. Go on, share the joy and the smiles it brings!
Print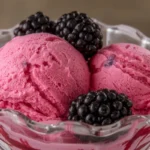
Raspberry Ice Cream Recipe
- Total Time: 7 hrs 45 minutes
- Yield: 8 servings
Description
Whip up the best homemade raspberry ice cream with this easy recipe! Enjoy a luscious, fruity frozen treat perfect for any day.
Ingredients
- 2 cups black raspberries
- 4 large egg yolks
- 3/4 cup granulated sugar
- 1 1/2 cups whole milk
- 1 1/2 cups heavy cream
- ¼ tsp kosher salt
- 2 teaspoons vanilla extract
Instructions
1. Chill the ice cream bowl for at least 24 hours, or until solid. You should not hear any water sloshing around when you shake the bowl.
2. Add the black raspberries to a food processor. Blend until smooth.
3. Strain the seeds out of the black raspberries with a sieve, pressing down with the back of a spatula or spoon to press out as much juice as possible. Set aside.
4. In a medium bowl, whisk together the egg yolks and granulated sugar until smooth and pale yellow in color.
5. Add the milk to a saucepan over medium heat. Bring the milk to a simmer and then remove from the heat. Be sure not to boil.
6. Add about 1/2 cup of the hot milk to the egg and sugar mixture and whisk constantly until combined.
7. Then, add the tempered egg mixture back into the saucepan with the remaining hot milk.
8. Heat the saucepan on low. Stirring constantly, heat until the base has thickened enough to coat the back of a spoon. This should take a few minutes.
9. Strain the mixture into a bowl to remove any pieces of egg that may have cooked.
10. Add the heavy cream, salt, and vanilla extract and stir to combine.
11. Add in the black raspberry puree and stir until incorporated.
12. Cover the bowl with plastic wrap making sure to have the plastic wrap touching the surface of the ice cream base. Refrigerate for at least 3 hours, or until cold.
13. Churn the ice cream mixture in the bowl of your ice cream machine according to your manufacturer’s instructions (mine took about 20 minutes), until it is thick and the consistency of soft-serve ice cream.
14. Spoon the ice cream into a shallow container or a loaf pan. Press plastic wrap or wax paper to the surface of the ice cream. Freeze for at least 4 hours, or until solid. Let sit at room temperature for about 5 minutes before serving.
Notes
Pro Tips: Thoroughly chill the ice cream maker bowl for at least 24 hours. Strain the raspberry puree for a silky-smooth texture. Temper eggs slowly and whisk constantly to prevent scrambling. Taste the base before chilling to adjust sweetness.
Storage & Serving: Store in an airtight container for up to 2-3 weeks. Let soften at room temperature for 5-10 minutes before serving. Serve with fresh berries, chocolate shavings, whipped cream, or homemade raspberry sauce.
Variations: Mixed Berry Swirl, Chocolate Chunk Raspberry, Lemon Raspberry, Almond Raspberry, Vegan Raspberry Ice Cream (using full-fat coconut milk and soaked cashews).
- Prep Time: 25 minutes
- Cook Time: 20 minutes
- Category: Dessert
- Cuisine: American